DIY Guide: Smartphone-Controlled Garage Door (Under $10)
Published in Technical Sharing, 2025
💡 The Idea
Tired of driving back home just to check if the garage door is closed? This project shows you how to add smartphone control to your existing system for less than $10. It is a simple but effective way to explore IoT (Internet of Things) at home.
📦 What You Need
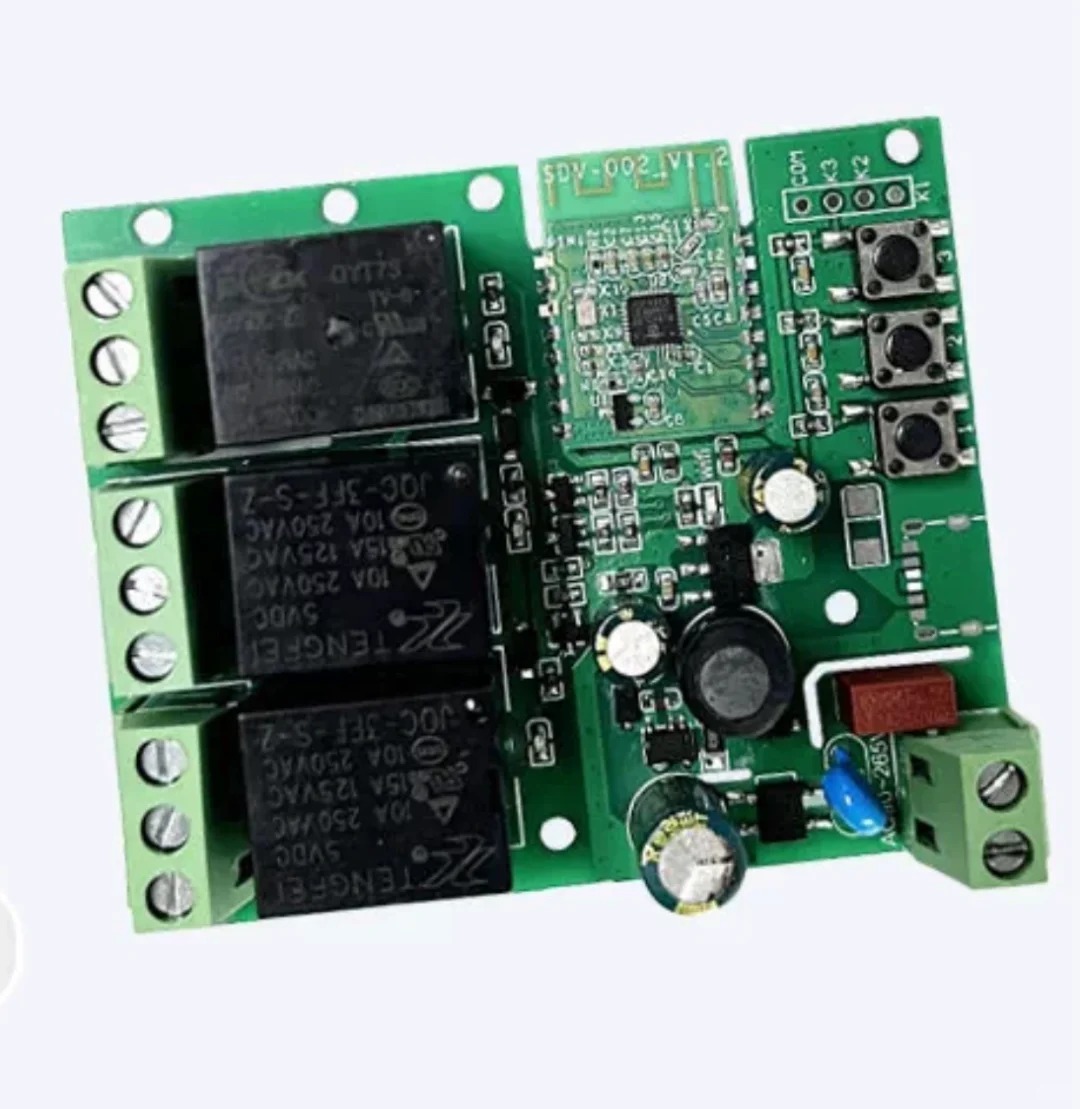
- Smart Relay: A Wi-Fi relay switch (Single or Multi-channel).
- Power Source: Any DC 7V-24V power adapter (you can often find these in your “old electronics” bin).
- Wires: Basic copper electrical wires.
🔧 Step-by-Step Instructions
1. Powering the Module
Connect your DC power source to the input terminals of the Wi-Fi relay. Make sure the voltage is within the 7V-24V range.
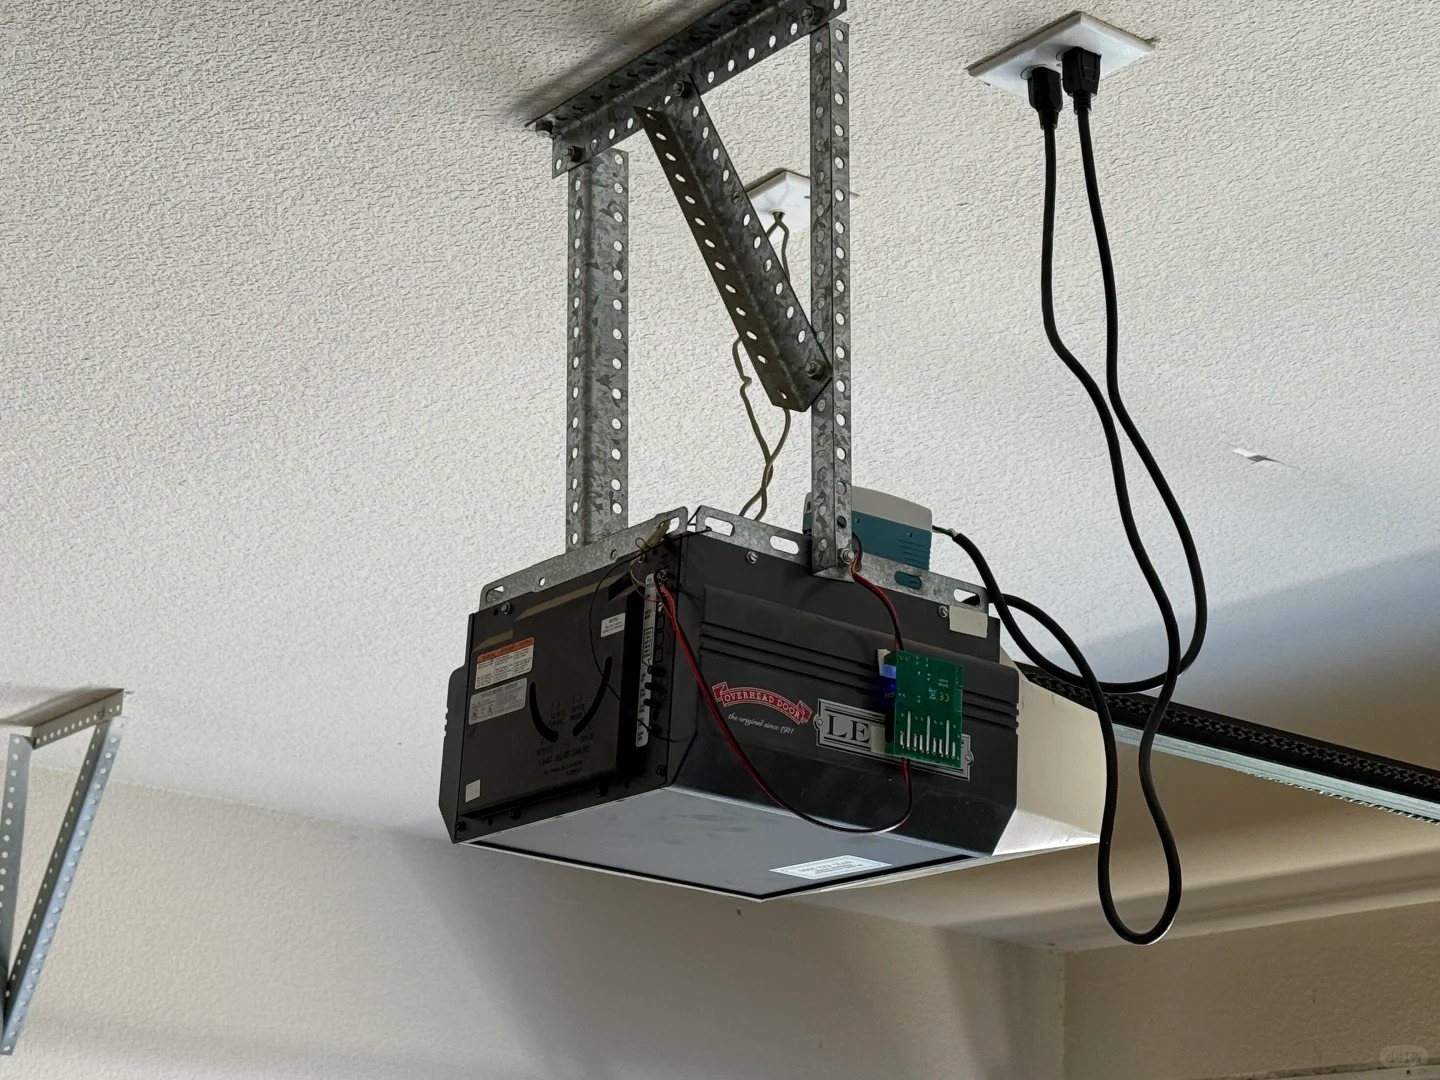
2. Integrating with the Motor
Identify the “Push Button” and “Common” (COMM) ports on your garage door motor unit. Connect the output lines from the relay to these two ports. This allows the relay to “simulate” a physical button press.
3. App Setup
- Download the mobile app (compatible with your relay, e.g., eWeLink or Tuya).
- Follow the in-app instructions to pair the relay with your 2.4GHz Wi-Fi.
- (Optional) Set up a “Momentary” (inching) mode so the relay automatically “releases” the button after 1 second.
4. Testing
Test the trigger from your phone. Once it works, you can share access with your family members so everyone can open the door via their phones.
⚠️ A Quick Note on Safety: While the voltage involved here is low (DC), please ensure you unplug the garage door motor before wiring. If you are not comfortable with basic circuitry, it is always a good idea to have a friend with technical experience help out!